Introduction
Note: First ensure that Smaart has access to your system’s microphone. See the Microphone Permissions article for full instructions)
Windows 11
First Location
Windows 11 has noise suppression on by default which can . There are two ways to check whether this is active (and to disable them).
To do so, navigate to System > Sound > All sound devices > [Your I/O Device] > Properties

Disable Audio Enhancements (Second Location)
Navigate to System > Sound > More Sound Settings
Click the "Recording" tab
Select your I/O device
Click Properties
Click the Enhancements tab
Check “Disable all Enhancements"
Click "Apply"

MacOS
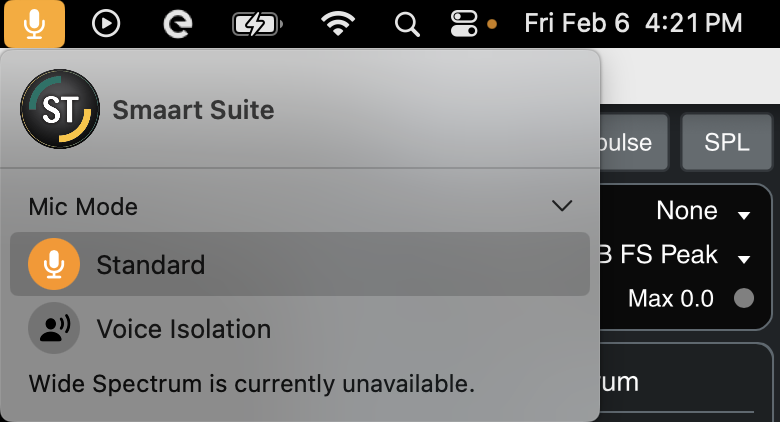
MacOS has a similar microphone setting called "Voice Isolation" mode.
To ensure this isn't active, click the microphone icon that appears when Smaart (or any other app) is accessing your system's mic.
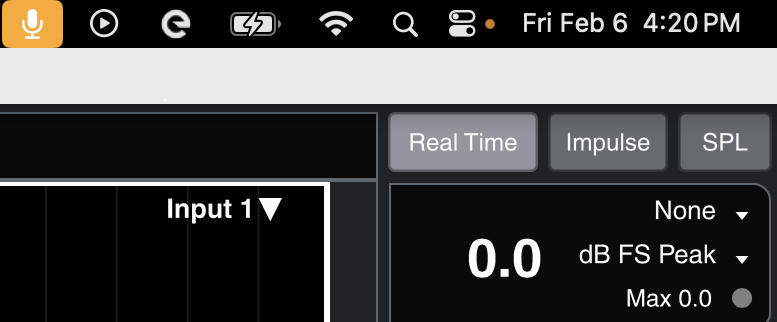
From here, ensure that the microphone is set to "Standard" mode, not "Voice Isolation".
If you still encounter issues after following these steps, please submit a ticket or contact support@rationalacoustics.com so that we can help troubleshoot. Be sure to include your Smaart license information, operating system version, and details about the audio interfaces you're using with the software.